[ Charging diagnosis · 9 min read ]
Elektroblock not charging when plugged into 220 V
You plug the motorhome into the campsite 230 V pedestal and the auxiliary battery keeps dropping. The green LED on the LT panel doesn't come on or flickers oddly. This guide covers what to check before sending the Elektroblock for repair, the most likely internal faults, and how much each one costs.
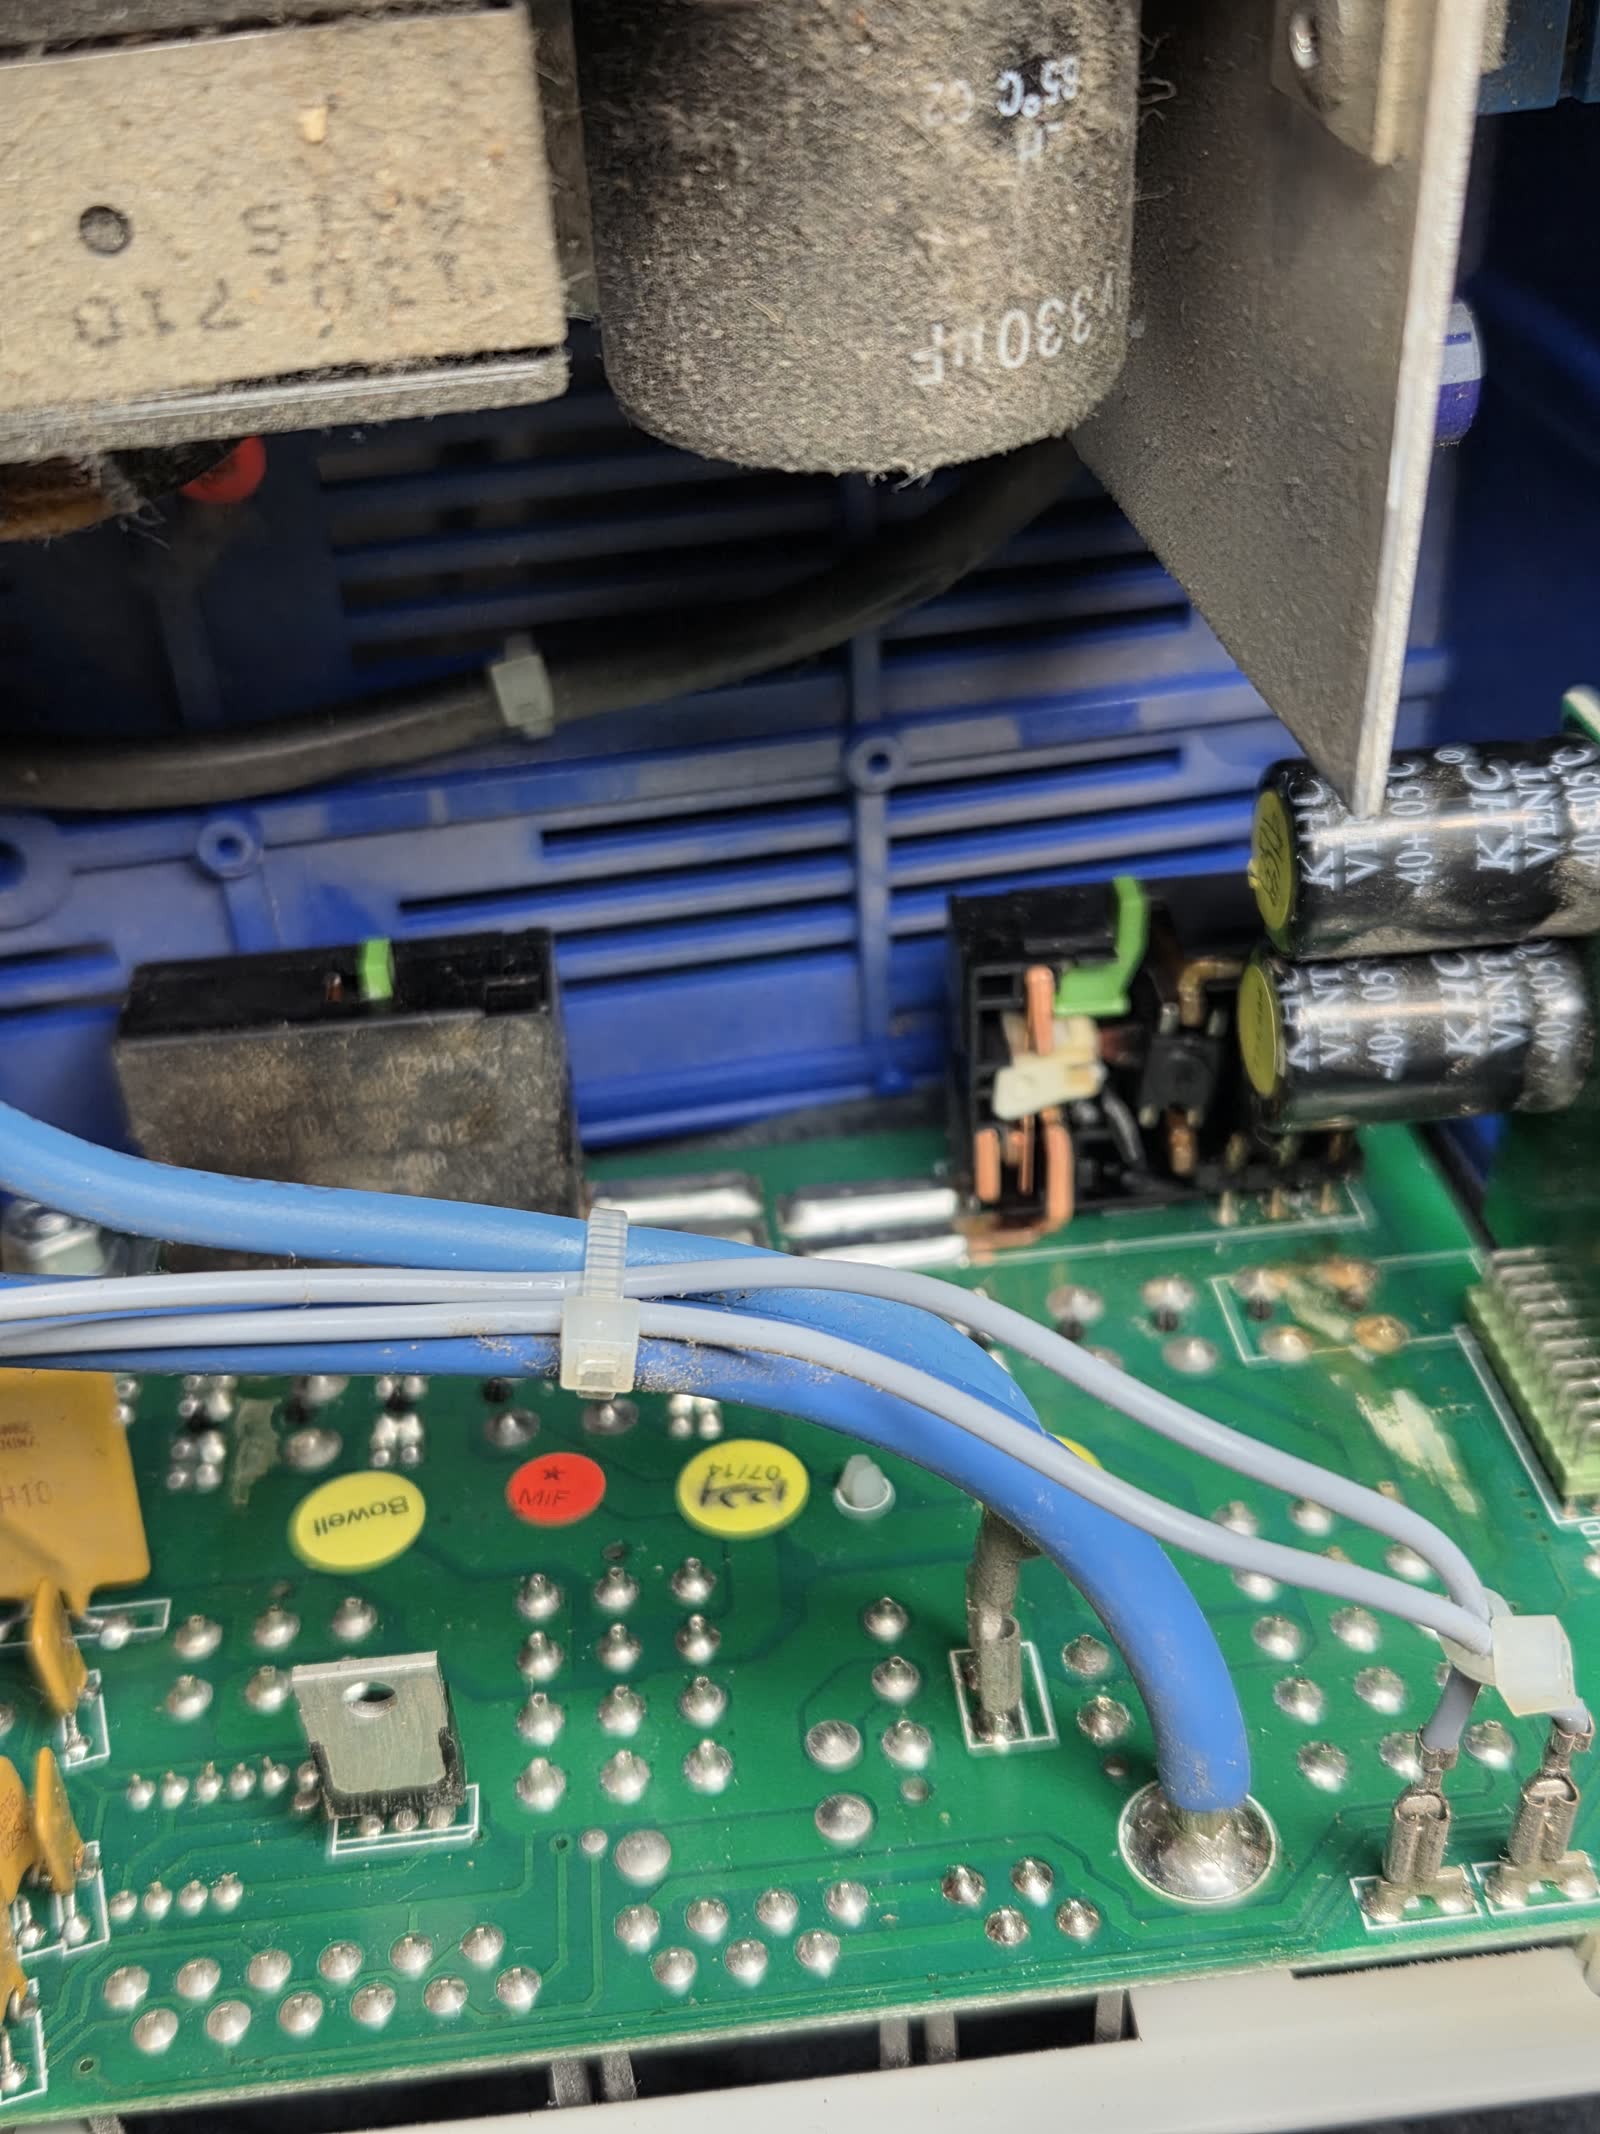
Symptom: plugged in but no charge
With the motorhome connected to a 230 V source (campsite, home, generator), the auxiliary battery should sit at around 13.8-14.4 V while the EBL charger is working. If it doesn’t move from 12.4 V or keeps dropping, the EBL’s internal mains charger is down.
The LT control panel usually confirms it: the green charge LED stays off, or flickers at an uneven rate. On an EBL 269 it may show error “E-04” on the LT500 display.
The 5 points of a Schaudt mains charger
The 230 V charger inside an Elektroblock is a switched-mode power supply with five stages, and any of them can fail:
- Mains fuse — the T 3.15 AT glass fuse at the input of the 230 V stage.
- Toroidal transformer — steps down from 230 V AC to approximately 18 V AC.
- Rectifier bridge (KBPC25 or equivalent) — converts AC to pulsating DC.
- Electrolytic filter capacitors — smooth the DC output.
- Voltage regulator / PWM MOSFET — delivers a stable 13.8-14.4 V to the auxiliary battery.
Point 1: the T 3.15 AT fuse
The first thing to check from outside the EBL: with the motorhome plugged into 230 V, press the 12 V button on the LT panel. If the panel wakes up but the charge LED doesn’t come on, open the EBL cover and check the small T 3.15 AT glass fuse in the mains section.
A one-off fuse replacement sometimes solves it. But if the new fuse blows within seconds, the problem isn’t the fuse — it’s the rectifier or the capacitors behind it (see internal fuse blows).
Point 2: the toroidal transformer
The large black donut-shaped component inside the EBL. Rarely fails on its own, but if the mains fuse keeps blowing with no obvious cause downstream, measure the resistance of its primary and secondary windings in ohms with the EBL unplugged. The primary should read around 50-100 Ω; the secondary around 1-5 Ω. Values of zero (short) or infinite (open) mean replacement — and finding a direct equivalent is not trivial. Repairable in approximately €150-€180.
Point 3: the KBPC25 rectifier bridge
The rectifier is often the real culprit when “the fuse keeps blowing”. Visual sign: a black mark, a melted plastic smell, or cracks in the KBPC25 case. Measurement: with the EBL unplugged and the capacitors discharged, measure in diode mode between the AC terminals and the + and − outputs. There should be a drop of around 0.5-0.7 V in one direction and open circuit in the other. If any of the four diodes shorts, replace the bridge. Component cost around €8-€12; repair labour between €100 and €120.
Point 4: the electrolytic capacitors
The large black cylinders next to the rectifier. If any are bulging on top, with brown residue at the base, or leaking electrolyte, the whole bank has to be replaced (always all four, even if only one is visibly damaged — they age together). Repair between €110 and €140 including bench test.
Point 5: the regulator / PWM MOSFET
The last stage, next to the output pins. Failure is less common than caps or rectifier but it does happen, especially on EBLs that have been subjected to voltage spikes from a generator with poor regulation. Diagnosis requires an oscilloscope on the PWM output. Repair cost between €130 and €160.
Decision table
| Visible symptom | Probable stage | Indicative price |
|---|---|---|
| Charge LED off, no visible damage | Mains fuse | €80 |
| New fuse blows in seconds | Rectifier (KBPC25) | €100-€120 |
| Mains fuse blows after cap bank | Electrolytic capacitors | €110-€140 |
| Charges a little, cycles on and off | PWM MOSFET or regulator | €130-€160 |
| No AC on secondary of transformer | Toroidal transformer | €150-€180 |
When it has to go to the workshop
Points 1 and the capacitor visual inspection can be done at home with a multimeter and a static-safe environment. Points 3, 4 and 5 require bench equipment: a lab power supply to isolate stages, an oscilloscope to see the PWM waveform, and a decent soldering station to work on the power board without damaging the solder mask.
In my workshop the full diagnosis costs nothing — you only pay if you approve the final quote.
Related guides
- Auxiliary battery not charging — the complete charging-fault matrix.
- Internal fuse blows — why the T 3.15 AT keeps going.
- Internal charger failure — stage-by-stage repair.
Read next
Other related faults.
Charging diagnosis
Elektroblock not charging the auxiliary battery
If your Schaudt Elektroblock has stopped charging the living-area battery —neither from 230 V mains, nor from the alternator, nor from the solar panel— the fault is almost always in one of these seven points. This guide shows you how to diagnose which before dismantling anything.
Read guide →
Internal components
The Elektroblock internal fuse keeps blowing
You replace the T 3.15 AT glass fuse inside the Elektroblock and seconds later it blows again. This is the clearest sign the problem isn't the fuse but what sits behind it: a damaged rectifier or power transistor. Here's the correct diagnosis.
Read guide →
Internal components
The Elektroblock internal charger delivers no voltage
You plug the motorhome into 230 V and the auxiliary battery doesn't move a single millivolt. The Elektroblock internal charger is completely down. This guide teaches you how to find which of the five internal stages has failed.
Read guide →
Next step
Time to repair? Free diagnosis by WhatsApp.
Send me the exact Elektroblock model and a photo of the LT panel. I'll confirm whether it's a common fault, the indicative price and how to pack it.
Message on WhatsApp